This guide explains how to move your camera to a different network. You'll learn the steps for both Ethernet and Wi-Fi cameras.
The method for moving a camera to a different network depends on how it is connected:
1. Moving an Ethernet Camera to a Different Network
If your camera is connected via Ethernet, simply disconnect it from the current router and plug it into the new one. The camera will connect automatically and resume operation.
However, if you previously assigned a static IP address to the camera (disabled DHCP) in its web interface, we recommend re-enabling DHCP before moving it. Refer to your camera's manual or search our knowledge base for instructions.
2. Moving a Wi-Fi Camera to a Different Network
The process depends on how the camera was initially connected to your account:
- By QR code
- By MAC address / serial number
2.1. If the camera was connected via QR code
- Reset the camera to factory settings (via a reset button).
- After resetting, reconnect the camera to your account via QR code as if it were a new device. You do not need to delete it from your account first. Simply repeat the connection procedure — the camera will come online under its existing binding, retaining its previously connected plan and cloud archive.
2.2. If the camera was connected via MAC address or serial number
If the camera was initially connected via MAC address or serial number using an Ethernet cable and then switched to Wi-Fi, the procedure depends on whether the camera is currently within range of the new Wi-Fi network.
If the camera is not within range of the new Wi-Fi network:
- Connect the camera to a free port on the new router using an Ethernet cable.
- Switch the camera to the new Wi-Fi following the guide: How to Switch a Camera to a Wireless Network?
If the camera is already within range of the new Wi-Fi network:
1. In your personal account, go to the Cameras tab. | 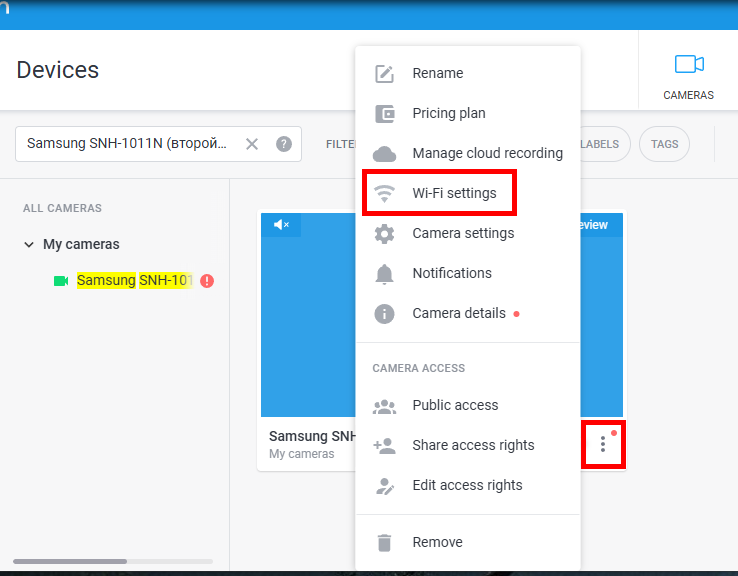 |
2. Click the settings button (three horizontal lines) under the camera preview and select Wi-Fi Settings. 3. In the window that opens, click Change settings — a scan for available networks will begin. | 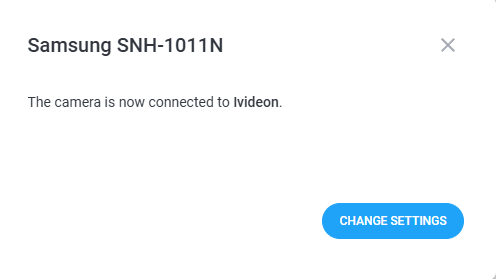 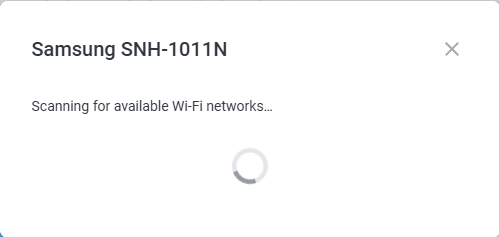 |
4. Select the desired network from the list, enter the password, and click Connect. | 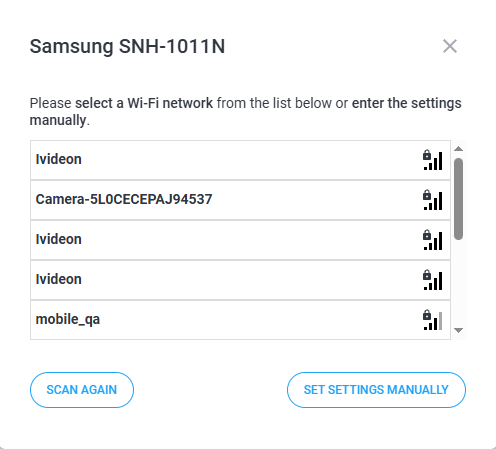 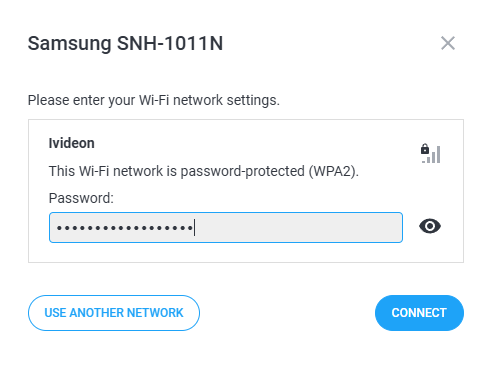 |
5. Wait for the confirmation message that the camera has successfully connected to Wi-Fi. | 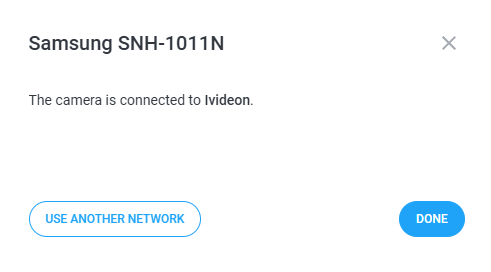 |