1. The cameras that can be connected using a QR code are:
iLuv mySight
iLuv mySight 2K
Nobelic NBQ-1110F
Nobelic NBQ-1210F
Nobelic NBQ-1210F/b
Nobelic NBQ-1310F
Nobelic NBQ-1410F
Nobelic NBQ-4100F
Ivideon Cute
Ivideon Cute 2
Ivideon Cute 3
Ivideon Cute 4
- Ivideon Cute 4L
- Ivideon Cute 4LS
- Ivideon Solaris
Ivideon Cute 360
Ivideon Leo 360
Oco 1
Oco 2
Oco HD
Oco Motion
Oco Simple
Philips M120E
Samsung SNH-1011
NB! Other wireless cameras (with an Ethernet port available) must first be connected with a network cable, added to an Ivideon account, and only then switched to a Wi-Fi network.
2. How do I connect a camera via a QR code?
Before connecting the camera:
Make sure the network you are using has internet access;
Check the frequency of your Wi-Fi network – most cameras can only work at 2.4 GHz;
Make sure that the camera connects with a power supply of the required wattage. Information about the necessary characteristics of the cameras’ power supply can generally be found in its instruction manual;
Write down the password for the Wi-Fi network.
Please mind that connecting a Wi-Fi camera with Ivideon to public/enterprise Wi-Fi networks which require authorization via a mobile phone number is not possible.
2.1. How can I connect my camera using a QR code through my Personal Account?
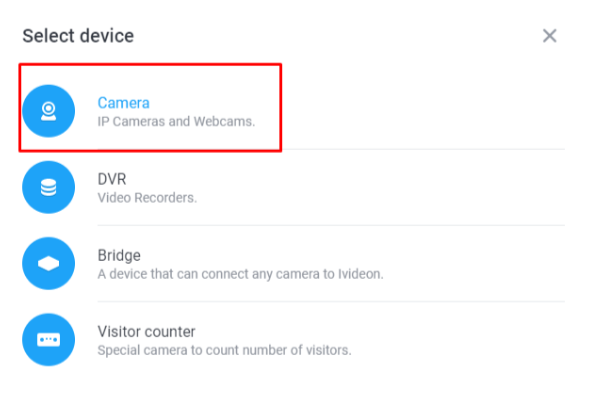
After logging into your Personal Account on my.ivideon.com, click the Connect device button:

Select the Camera option and the Via Wi-Fi connection type:

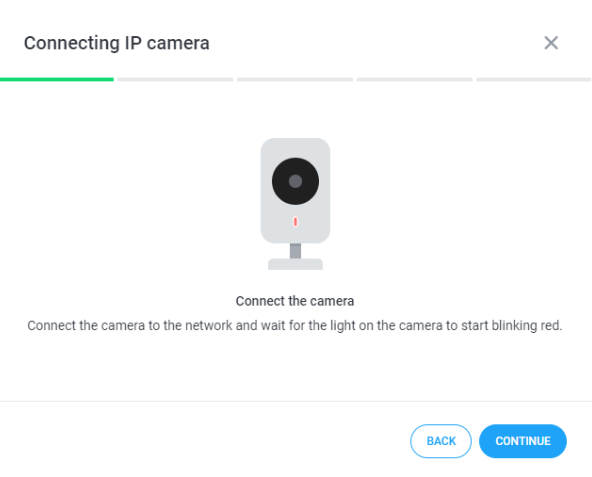
Connect the camera to power and wait for the LED on the camera to start flashing red (or amber in case of an Oco 2 device). Then hit the Continue button:
Enter the name and password of the Wi-Fi network you will be using and click Continue:
(make sure your Wi-Fi network is running at 2.4 GHz frequency; most of the cameras listed, except for Oco 2, do not support Wi-Fi networks that operate at a frequency of 5 GHz)

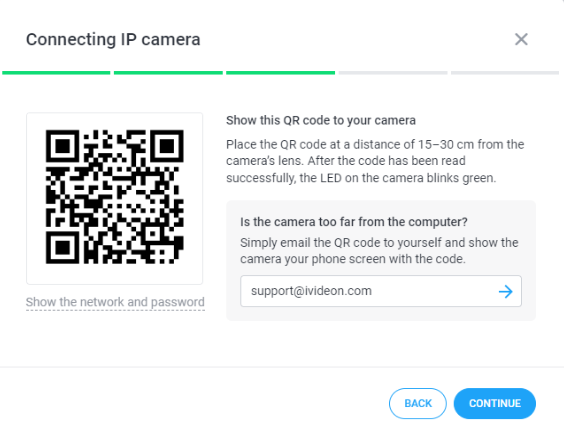
Show the QR code into the camera lens. If necessary, you can send a QR code to any e-mail address and then show it to the camera from another device. When the camera recognizes the QR code, there will be a beeping sound, and the LED will change to flashing green.
Wait for the camera to attempt the connection to the cloud:

If the connection is successful, enter a name for the camera and click Done.

In case the connection fails or times out, please see recommendations from the Cannot connect a wireless camera using a QR code article.
2.2. Connecting a Wi-Fi camera via the Ivideon mobile app
Install the Ivideon mobile app for your Android or iOS device by downloading it from Google Play Store or Apple App Store;
Ensure that your device is connected to the Wi-Fi network which you are planning to use for the camera’s connection;
In the Ivideon mobile app, log into the account you want to link the camera to;
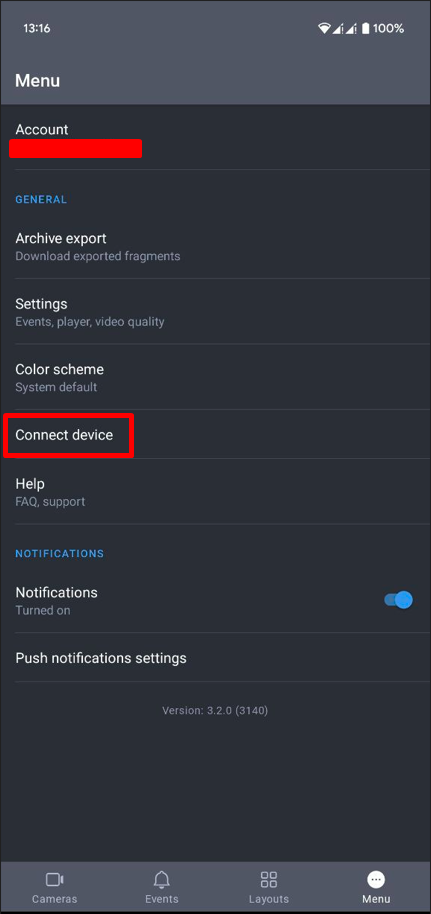
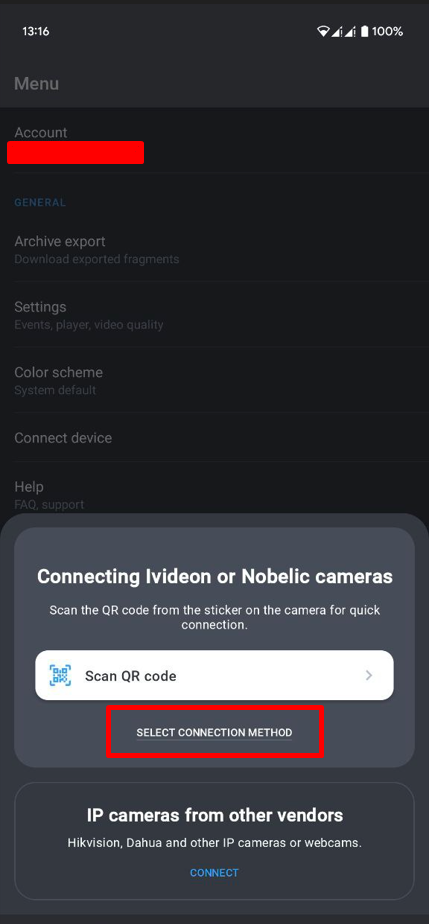
Pick the Menu tab in the lower right corner of the screen and select the Connect device (or Add camera) option:
 |
Choose "Select connection method" option, "Via Wi-Fi" variant.
 | 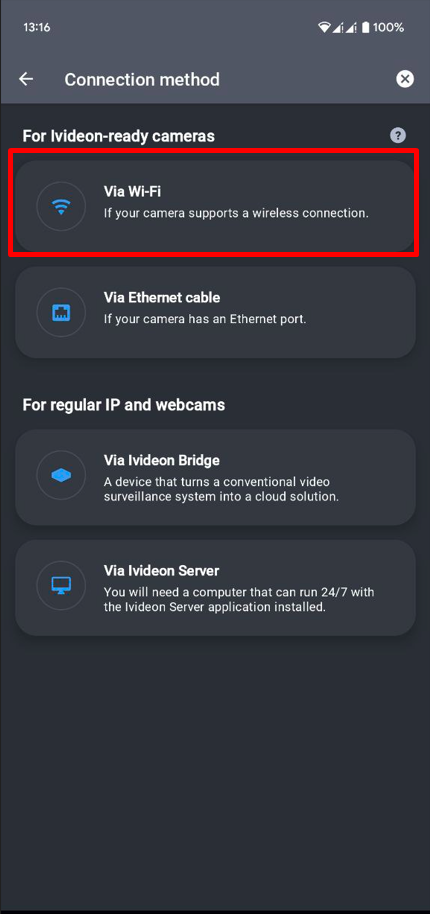 |
Connect the power to your Wi-Fi camera and wait for it to load (about 20-30 seconds in general) – the camera will change the indication to flashing red (amber if it is Oco 2, orange if it is a Philips M120E camera);
Turn on GPS/geolocation option on your smarphone. Pick the Wi-Fi network you will be connecting the device to and enter this network’s password into the app.
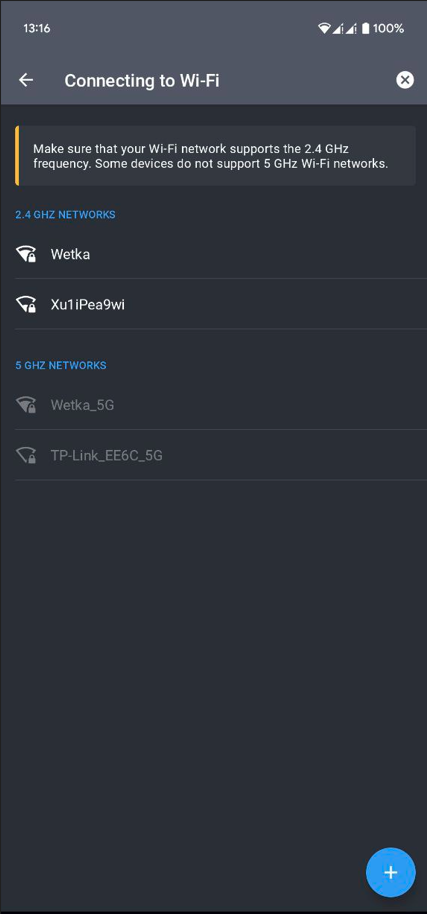 | 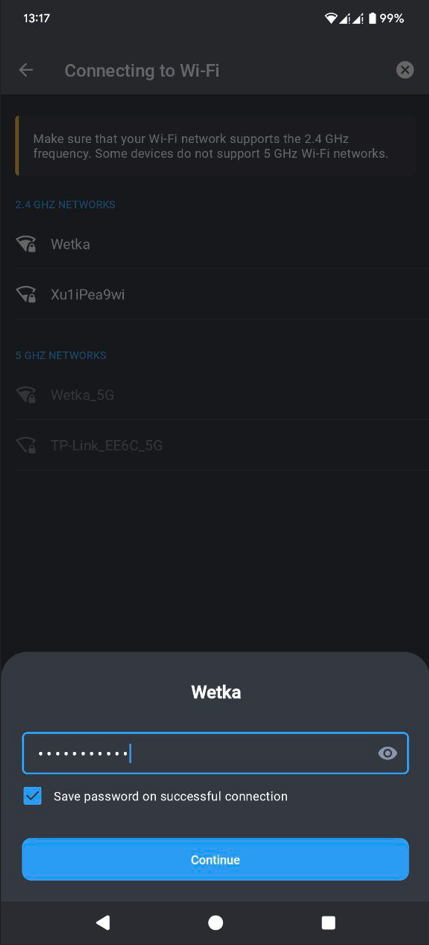 |
On the next step, you will see a QR code on your smartphone screen:
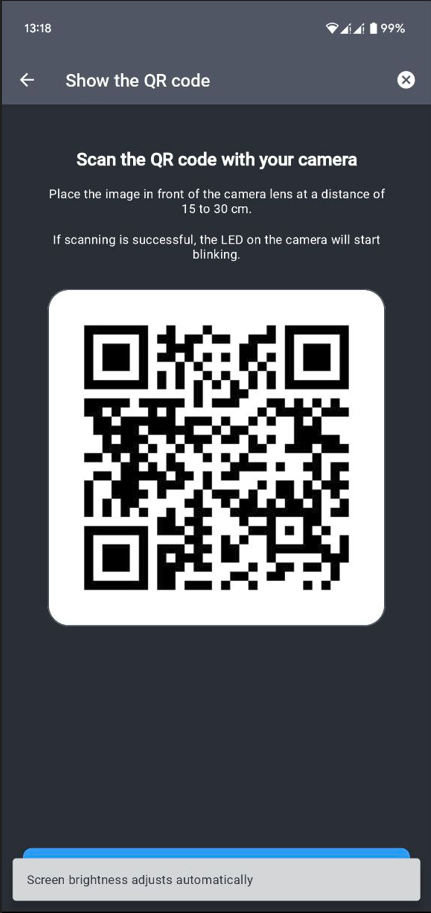 |
Place the smartphone with the QR code in front of the camera lens and show the QR code to the camera from a distance of about 6-12 inches (15-30 cm);
When the camera reads the QR code, a beeping sound usually occurs, the camera will change the indication to flashing green/blue and a notification will appear in the mobile application;
Wait until the camera connection is completed (the camera will change the light indication to a solid green/blue LED).